Technical Tutorial · Settings
Fish Finder Settings Every Bass Angler Should Know
Auto mode is fine until it isn't. Here are the sensitivity, ping speed, frequency and color palette tweaks that turn a $1,000 unit into a $3,000 one.
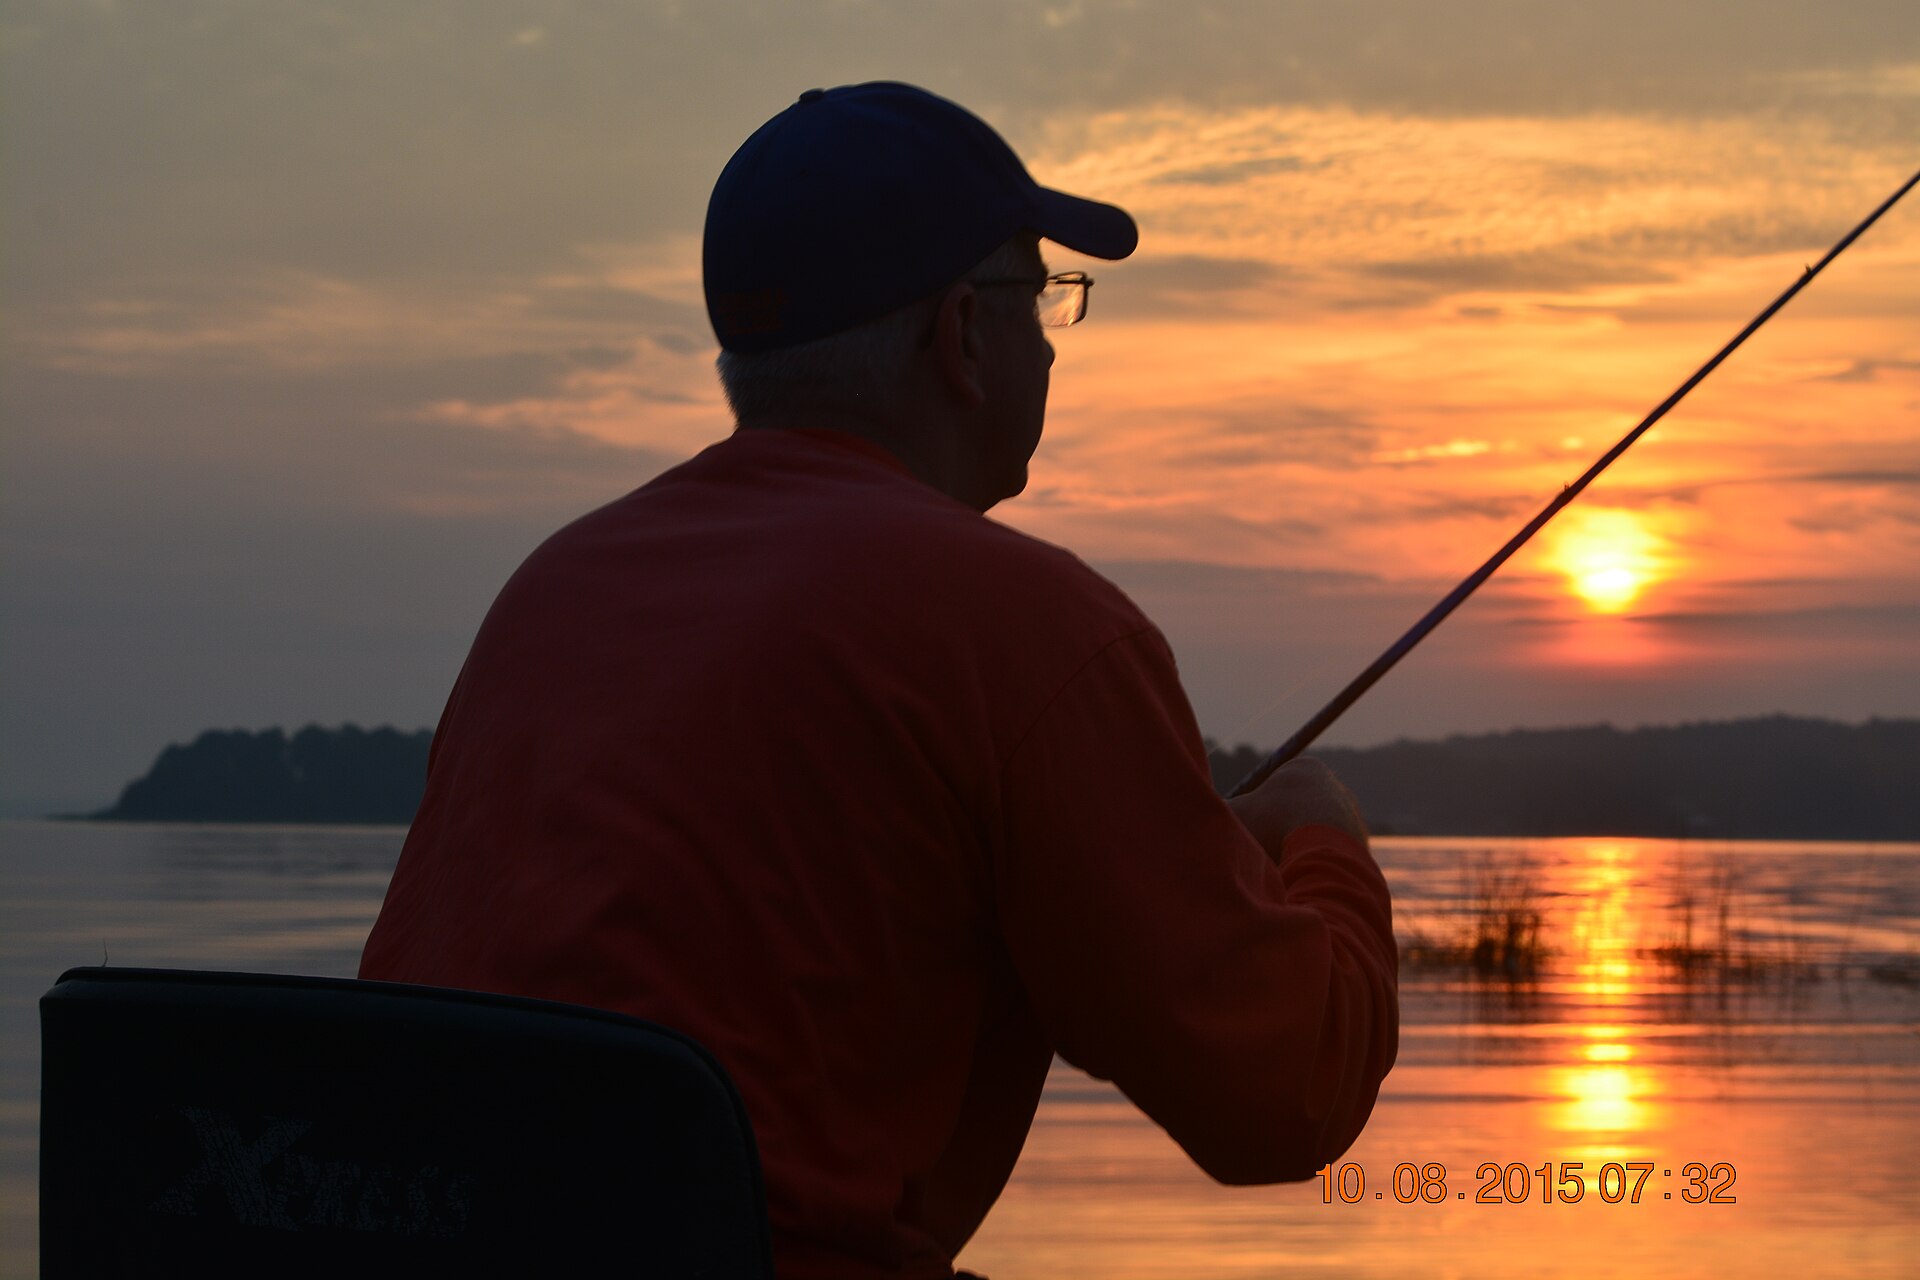
Auto mode is fine until it isn't. The factory-default settings on a Garmin, Lowrance or Humminbird unit will catch you fish — but they're a compromise designed to look acceptable in every condition rather than to look great in any specific one. Once you've put 10 or 20 hours on your unit and you understand the basics of reading sonar, the next step is dialling in the settings to match how you actually fish.
This is the editorial team's field-tested settings guide, written for bass anglers running mid-range to flagship units in 2026. Specific menu names vary slightly between manufacturers; the underlying concepts are universal.
Sensitivity
Sensitivity controls how much of every return the unit displays versus how much it filters out as "noise." This is the single most important setting on the unit and the one most commonly misunderstood.
Default Auto on most units sits around 75%. Bump it up to 80–85% in clear water (Lake Mead, Powell, Havasu) and you'll start seeing baitfish, suspended particles, and structure detail you were previously missing. Drop it to 65–70% in muddy or aerated water and you'll cut the visual noise.
The right way to dial sensitivity: turn it up until the screen is full of clutter, then back it off until the clutter just clears but you can still see baitfish. That's your number for that water body, that day.
Frequency (or CHIRP range)
Modern CHIRP units sweep across a band of frequencies rather than using a single frequency. But you can usually choose between a low-frequency mode (typically 50 or 80 kHz), a high-frequency mode (typically 200 kHz, or 455/800 kHz on imaging-capable units), or auto.
- Low frequency / wide cone (50–83 kHz): Bigger cone, deeper penetration, less detail. Use it when searching for suspended bait and fish in 50+ feet, or when scanning open water for stripers.
- Standard 200 kHz: The all-around bass setting. Reasonable cone, reasonable detail, works in most water depths.
- High frequency / narrow cone (455–800 kHz):Narrower cone, less depth, much more detail. Use it for inspecting brushpiles, isolated structure, and shallow-water work.
For most bass anglers most of the time, leaving the unit on its default CHIRP mid-range is correct. The reason to override: when you know you're inspecting a specific structure (jump to high-frequency) or when you're hunting suspended fish in open water (jump to low-frequency).
Ping speed (scroll speed)
Ping speed controls how fast the screen scrolls as new sonar returns come in. Most units default to a middle setting. The rule:
- Drifting or trolling slowly: Scroll speed at 70–80% of max. Slower scroll keeps the marks visible long enough to interpret.
- Searching at idle to 5 mph: 50–60%. The standard.
- Hovering still or fishing vertically: Crank scroll speed to 90–100%. When the boat isn't moving, the screen needs to keep updating fast enough to show real-time changes.
Scroll speed is a set-it-and-forget-it adjustment that many anglers ignore — and then they wonder why the screen looks washed-out when they're sitting still. Adjust this when you change fishing modes (idle vs hover, drift vs run).
Color palette
Color palettes change how much you see, not how much the unit sees. The palette you grew up with is usually the right one for you. But if you've never tried alternatives, do this:
- Bright sunlight: High-contrast palettes (the classic blue-white, or the high-contrast yellow palettes on Garmin and Humminbird) read better in glare.
- Cloudy / pre-dawn / dusk: Softer palettes (the grayscale modes, or the "ice" mode on Lowrance) reduce eye strain and bring out subtle detail.
- Identifying suspended fish: Palettes with strong red/yellow at the high end of the gain range make individual fish marks pop against the bait-cloud background.
Side imaging settings
Side imaging is the most adjustable part of a modern fish finder and the most rewarding to dial in.
Range
Side imaging range controls how far out to either side the screen shows. Default is usually 60–80 ft. The rules:
- Searching open water: 100–150 ft each side. More water covered per pass, less detail.
- Inspecting structure: 40–60 ft each side. More detail, less coverage.
- Shallow flats: 30–50 ft each side. The optimal for less than 15 feet deep — anything wider just shows you a wash of bottom return.
Frequency
Most modern side imaging supports 455 kHz and 800 kHz (Humminbird MEGA also supports 1.2 MHz). Use 455 kHz for searching and deeper water; 800 kHz for fine inspection of structure in 25 ft or less; MEGA 1.2 MHz when you want photographic clarity at the cost of range.
Contrast
Side imaging contrast lets you push hot returns brighter and cool returns darker. Default is fine for most use. Bump contrast up when you're struggling to see fish marks against a busy bottom; back it off when the screen looks like a black-and-white comic strip with too much information lost in pure-black areas.
Down imaging settings
Down imaging has fewer knobs to turn and more "set the right frequency and leave it."
- Frequency: 800 kHz for most bass-fishing situations. 455 kHz if you're searching deeper than 60 ft. 1.2 MHz (MEGA) if you have it and you're in less than 30 ft.
- Sensitivity: Same logic as 2D — turn it up until clutter, back it off until clean.
Live sonar settings (LiveScope, ActiveTarget, MEGA Live)
Live sonar deserves its own dedicated tutorial. The brief version for bass fishing:
- Range: Set range to roughly 1.5x the depth you expect to fish in. 30 ft of water = ~45 ft range.
- Sensitivity: Higher than your 2D setting. Live sonar benefits from more aggressive gain than traditional sonar.
- Color palette: The dark-blue-with-yellow-fish palette is the easiest to read for most anglers. Try the green-on-black palettes after you're used to it.
- Mode: Forward mode for most situations. Down mode (or Perspective on Garmin) when fishing directly under the boat. Side / Scout mode when scanning offshore.
GPS and waypoint settings
- Waypoint mark button: Bind the dedicated waypoint button on the keypad (Garmin, Humminbird) or set a quick-mark gesture on the touchscreen (Lowrance) so you can mark a fish or structure in under one second.
- Waypoint icons: Use different icons for structure, fish marks, hazard, and milestone. After a season, your map becomes an editorial document.
- Track recording: Turn it on. Always. Reviewing a trip's track at home over a chart is the most underrated way to learn a lake.
Real-world workflow
Here's the editorial team's typical morning settings sequence on Lake Mead:
- Launch and idle out. Sensitivity at 80%. CHIRP mid-range. Side imaging at 100 ft each side, 455 kHz. Watching for offshore structure.
- Find a striper boil. Switch to live sonar forward mode. Range 60 ft. Sensitivity high. Scanning for the school as we approach.
- Drop on the school. Live sonar to down mode. Watching the spoon drop. Sensitivity high. Color palette: dark blue with yellow fish marks.
- Move to the rocks. Side imaging to 60 ft each side, 800 kHz, contrast bumped. Looking for individual smallmouth on the rocky points.
- Vertical jig the suspended fish. 2D split screen with high-frequency CHIRP, sensitivity at 85%, scroll speed at 90%. Watching the spoon and the fish in real time.
Five different settings configurations in a single morning. None of them are radical departures from auto, but each one is dialled for what we're doing right now. That's the pattern that turns a $1,000 fish finder into a $3,000 fish finder.
Frequently asked questions
Should I keep my fish finder in Auto mode?
For your first 10–20 hours on a new unit, yes. Once you understand the visual difference between settings, take Auto off and dial things manually. Auto is a compromise; manual control is precision.
How often should I update firmware on my fish finder?
Check for updates 2–3 times a year. Garmin, Lowrance and Humminbird all push real feature updates that improve image processing, fix UI bugs, and occasionally enable features that didn't ship at launch.
Why does my screen look washed out at high speeds?
Because the transducer can't maintain a clean signal in turbulent water. This is normal — sonar is for searching at idle to 5 mph, not for running on plane. Run on plane to relocate; idle to look.
Is there one universal best palette for bass fishing?
No. Personal preference and lighting drive this more than any other setting. Pick the palette you find easiest to read and stick with it long enough to develop intuition. Switching palettes constantly resets the learning curve.
Keep reading
Related from the magazine
Techniques
How to Read a Fish Finder Screen: Complete Beginner Tutorial
Arches aren't always fish. Lines aren't always bottom. Once you understand what your sonar is actually drawing, the lake gets a lot smaller.
May 10, 2026 · 10 min read
Fish Finders · Review
Best Fish Finders 2026: 12 Units Tested Over 6 Months
Six months of side-by-side testing on Lake Mead, ranked across five price tiers — from $200 starter units to $3,000 LiveScope rigs.
May 22, 2026 · 15 min read
Fish Finders · Review
Garmin Echomap UHD vs Lowrance HDS Pro: Side-by-Side Comparison (2026)
Two flagship sonar units, six months in the same boat. Which one earns the helm in 2026?
May 15, 2026 · 11 min read